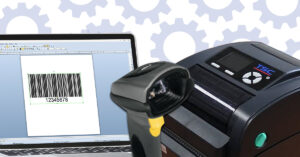
Installing and using ZebraDesigner:
Click to learn more
.1. If not done already, insert the “Specialty Printing Solutions” CD into your computer. A screen should come up allowing you to select your printer model from a dropdown list. If this window does not appear automatically, launch the CD from your My Computer window.
2. Select your printer from the dropdown list, then select “Install Other Software” on the left, then click the triangle next to “ZebraDesigner”.
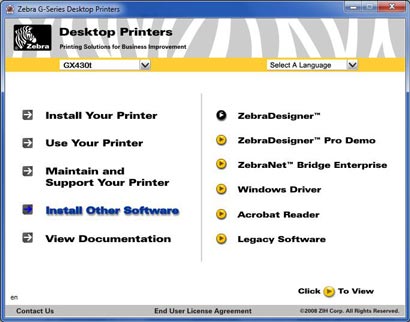
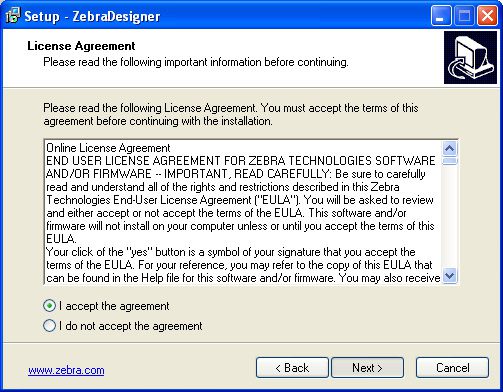
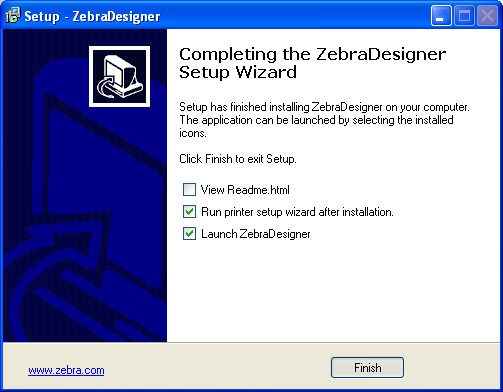
3. Allow Setup to run, and click through the installation of Zebra Designer.

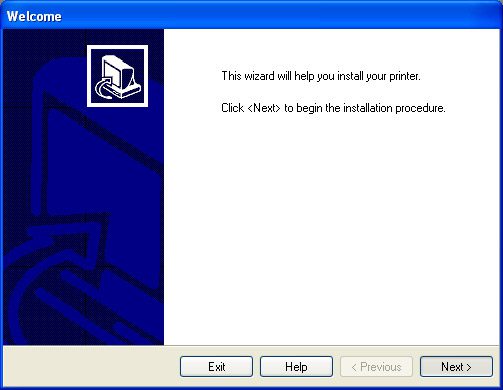
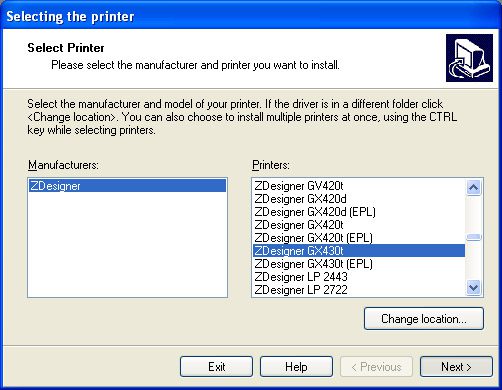
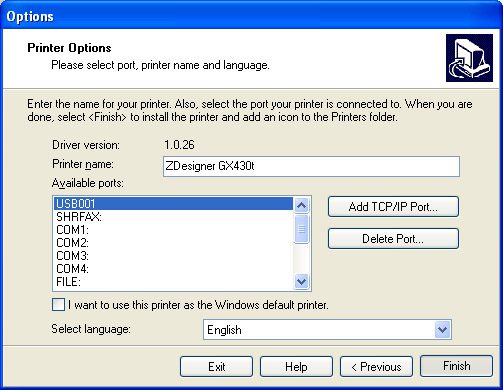
4. Upon completion of the installation, you will be given the option to “Run printer setup wizard after installation.”
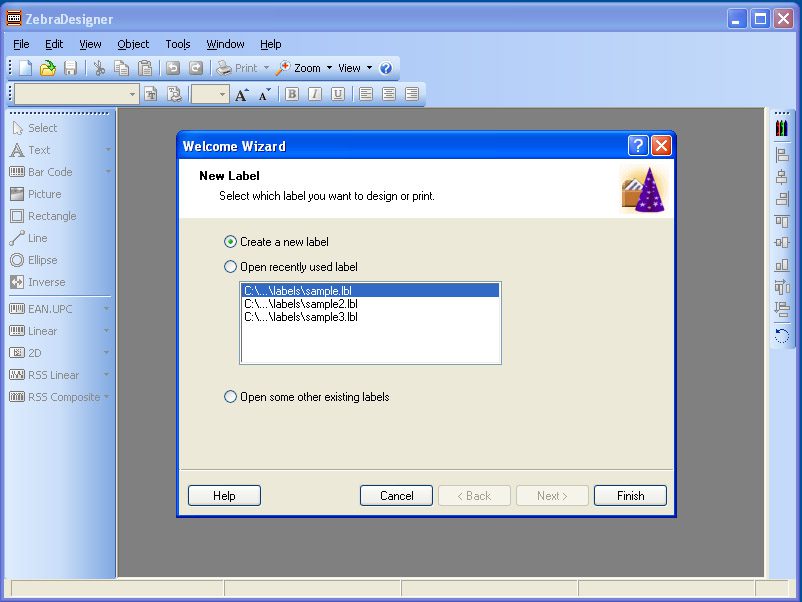
5. If you have been shipped a label template from Electronic Imaging Materials, Inc. you may insert the label template CD into your computer, click on “Open some other existing labels”, and browse to your CD drive to open the label format you have received.
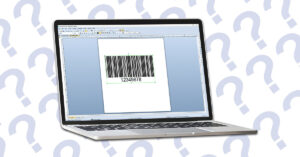
6. ZebraDesigner offers many basic design features for printing labels. Feel free to refer to some of the Users Guides contained on the Zebra CD.
Once you have installed your roll of labels and ribbon into your desktop printer, the printer will need to be calibrated to this new stock. When a printer is properly calibrated and ready to print, the green light on top should be solid, and pressing the feed button should feed exactly one label at a time from your printer. If the printer does not feed just one label, it likely needs to be re-calibrated. You should use the feed button on top of the printer to send a calibration command to the printer:
Calibrating the Printer Using the Feed Button
The desktop printers can be sent commands by using the top feed button. This is done by various “Flash Sequences” that are sent by holding the top button down for a certain amount of time.
To send a calibrate command to the printer, press and hold the feed button down on the printer. The green light will first flash once, then flash twice. If you release the button after the green light flashes twice, a few labels will feed from the printer and it will re-calibrate to your label stock.
Factory Reset Using the Feed Button
If you have attempted to calibrate your printer and still have issues, it is possible that the printer has some setting stored in it causing an error. To clear out all settings and run a calibration, you can send a Factory Reset command to the printer.
This is done in the same way as sending a calibrate command; however, you will hold the feed button down for four flashes, rather than two. The printer will then reset and attempt to calibrate to your label stock.