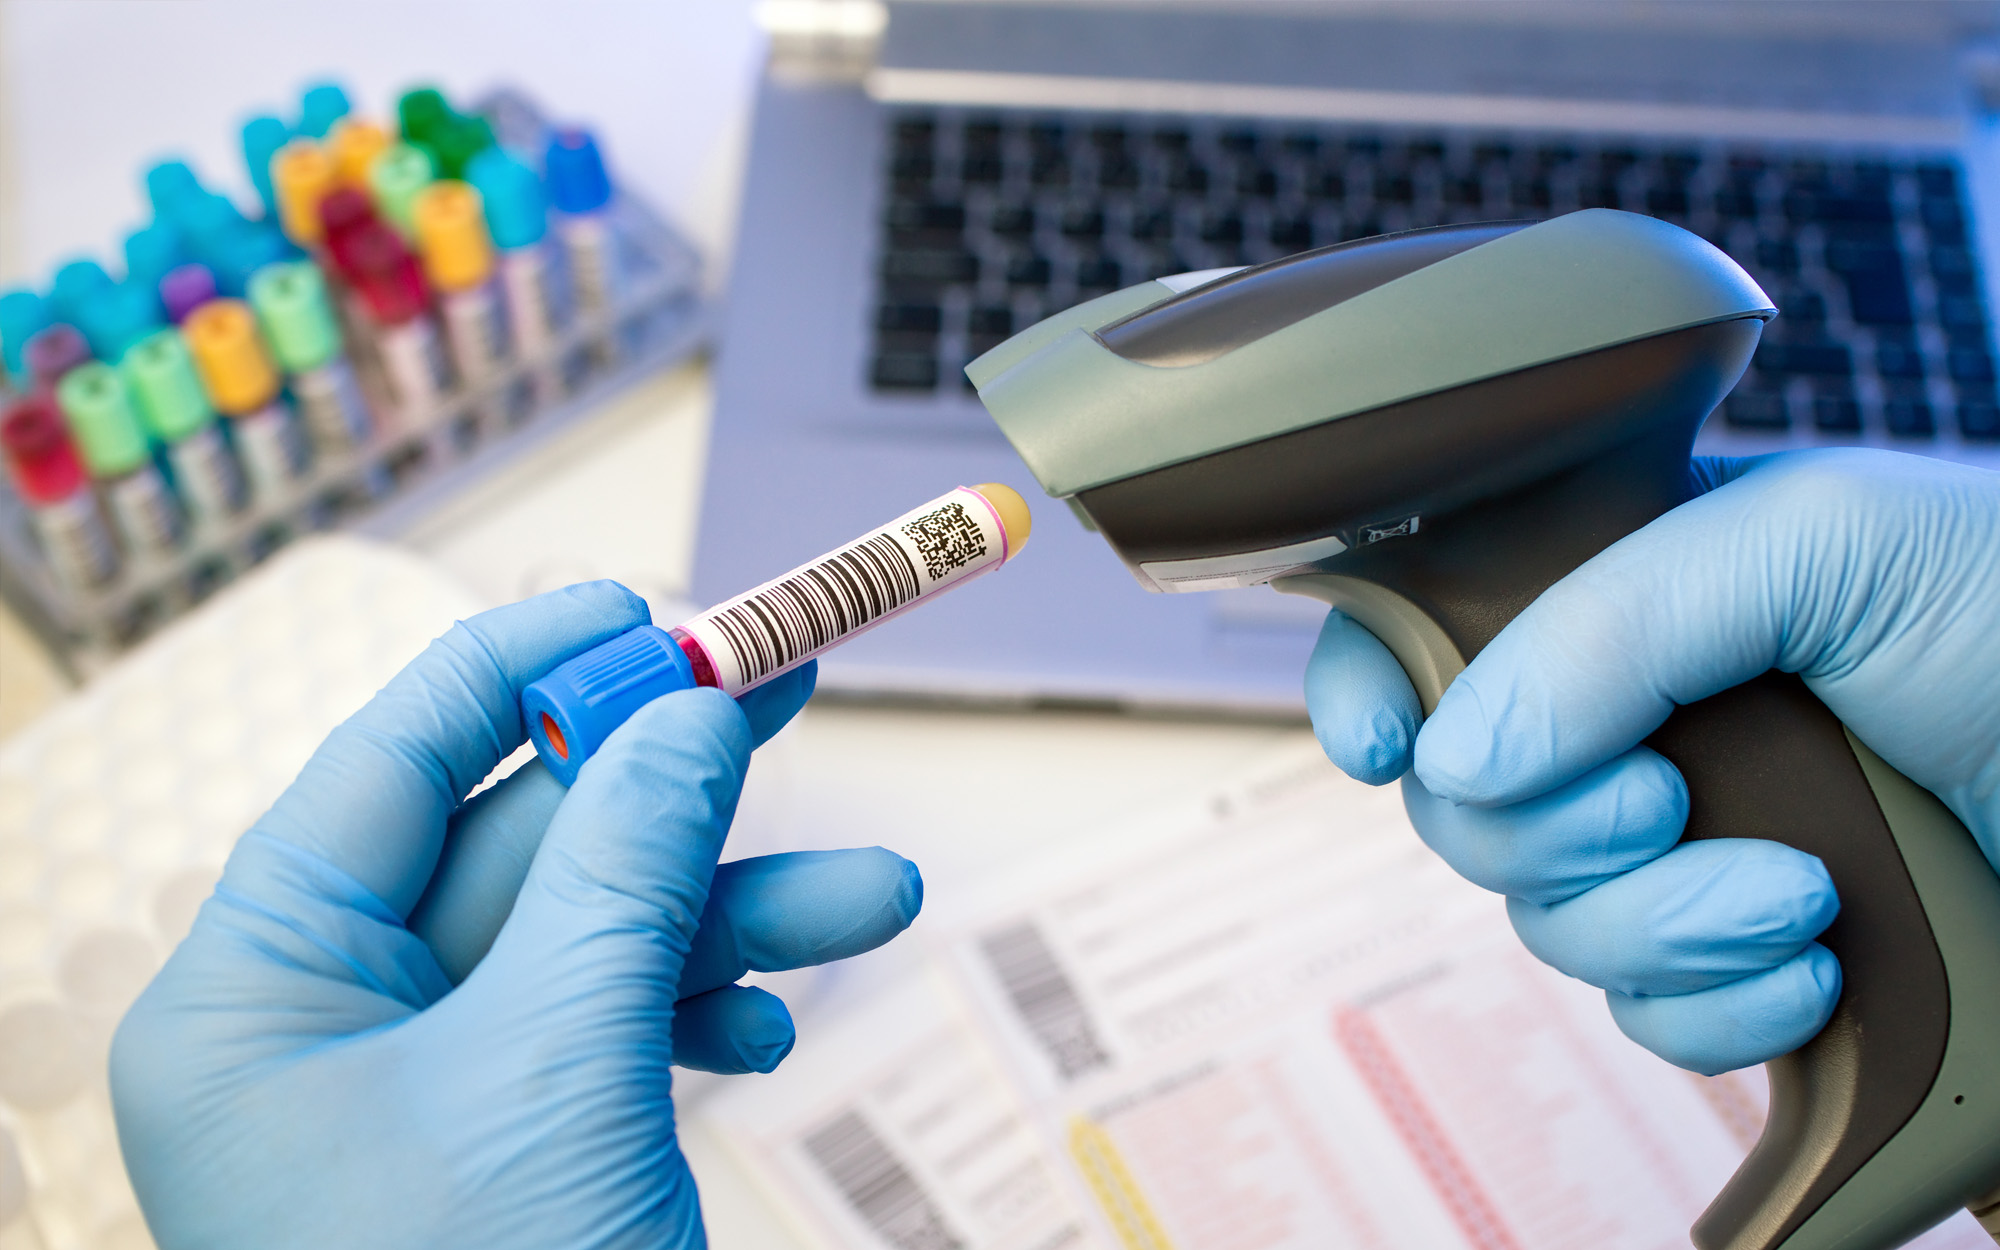
You’re in a frantic lab environment with personnel racing to meet daily testing quotas on sophisticated Hologic systems like the Panther Fusion®, ThinPrep® 5000, or Tomcat Instrument. They depend on fast, accurate scanning of laboratory barcodes to organize specimens, track results, and maintain flawless data. But what happens if these barcodes misalign or peel midway through a test run? That’s right—delays, wasted reagents, and possibly compromised patient outcomes.
This guide will show you precisely how to avoid such pitfalls by configuring your labels with the correct sizes, adhesives, materials, and printer settings. Because in a high-stakes lab, a single labeling error can cascade into a slew of unwanted repercussions.
Why Hologic Systems Demand Label Precision
Hologic® devices are designed for speed and repeatable accuracy, delivering life-changing diagnostic results. Yet these devices have tight tolerances for scanning and alignment—so if your labels aren’t dialed in, you can see interruptions in your workflow. From misplaced barcodes to edges that lift or curl, misconfigurations can bring your high-performance instrument to a standstill.

Accuracy and Speed Go Hand in Hand
When your lab manages hundreds or thousands of samples per day, every second spent fiddling with a misread barcode is a second you don’t have. Properly configured laboratory barcodes ensure that each sample is recognized by the machine immediately, reducing re-scans and slowdowns.
Regulatory Compliance
Healthcare labs must follow strict guidelines regarding diagnostic equipment labeling, from HIPAA considerations to FDA protocols for traceability. Labels that can’t maintain legibility or peel at inopportune moments might fail these standards, creating potential compliance nightmares down the road.
The Importance of Material Selection and Medical Label Adhesives
When it comes to labeling for Hologic devices, off-the-shelf, one-size-fits-all options often fall short. Whether you’re handling cytology samples or storing tubes in freezing conditions, you need labels that won’t budge.
Matching Facestock to the Application
- Paper vs. Synthetic: Paper labels are cheaper but more vulnerable to moisture and abrasion. Synthetic facestocks like polyester or polypropylene resist chemicals and are less likely to tear or smudge.
- Coatings & Laminates: If you frequently disinfect surfaces or handle oily vials, a coated label can help your barcodes remain scannable throughout the instrument’s entire process cycle.
Medical Label Adhesives That Stick
- Permanent Adhesives: Ideal for items you never want relabeled, ensuring data stays in place from the start of testing to disposal.
- Removable or Repositionable Adhesives: Useful when re-labeling is part of your lab’s workflow. However, they must still endure typical usage, including moderate contact with chemicals or repeated handling.
Recommended Label Sizes & Configurations for Hologic Systems
The size and shape of your label can make a substantial difference in feeding and scanning performance. A label slightly larger than recommended could wrinkle around a tube’s curvature, making scanning impossible. Too small, and you risk barcodes being misread if the device’s scanning window doesn’t properly register the code. Proper dimensioning ensures every sample flows smoothly through Hologic systems without extra handling or re-labeling. Each Hologic device may have unique specifications:
Panther Fusion®
Designed for high-throughput molecular testing, the Panther Fusion often uses cylindrical tubes or specialized cassettes that require wraparound labels. Ensuring proper height and wrap coverage is critical to keep barcodes fully visible. In many cases, a 2D code or truncated code format might be required to save space.
ThinPrep® 5000
Used primarily in cytology for Pap tests, the ThinPrep 5000 can handle a variety of container shapes. However, consistent label placement and minimal curling are crucial so the device can pick up each barcode on the first pass. Sizing the label to leave enough space for the automated grippers to handle the container can go a long way toward preventing machine jams.
Tomcat Instrument
This instrument automates certain lab processes and typically has a restricted area for scanning barcodes. If your label is too tall or wide, you risk covering essential tube markings or interfering with the machine’s mechanical components. Double-check the recommended label dimensions in the device’s documentation or consult your label provider for a custom solution.
Printer Compatibility Ensures Crystal-Clear Laboratory Barcodes
Even the perfect label material can’t save you if your printer isn’t up to the task. Hologic machines expect reliable, consistently placed barcodes, so it’s essential to select a printer that syncs with your labeling needs.
Thermal Transfer vs. Direct Thermal
- Thermal Transfer: Offers durable, smudge-proof printing ideal for environments where samples experience handling, moisture, or chemical contact.
- Direct Thermal: Usually cost-effective and simple, but prints can fade over time or under heat exposure, making it less suitable for long-term sample tracking.
Laser Printers
While laser printing can produce sharp text, it’s often less robust for heavy lab use. Toner might not bond well to certain synthetics, and high heat can cause some labels to curl or peel. Unless your workflow is minimal or extremely controlled, a thermal transfer setup generally performs better for scanning longevity.
Check for Print Resolution
Barcodes, especially 2D barcodes, demand higher resolution printing—at least 300 DPI or more for best results. If your printer can’t match the resolution needed by your Hologic device, you’ll end up with fuzzy or partially filled codes that lead to read errors.
Stuck figuring out the right dimensions, adhesives, or printing methods? Electronic Imaging Materials (EIM) offers personalized recommendations. Our team can help you design laboratory barcodes that match your Hologic device’s specs.
Mastering Diagnostic Equipment Labeling for Consistent Results
Diagnostic equipment needs proper labels. Every step, from sample loading to final disposal, relies on these identifiers being accurate and intact.
Minimize Human Error
If your staff has to reprint or reapply labels, you introduce additional steps where mistakes can slip through. A well-configured label helps you maintain a clear chain of custody from the beginning, letting lab techs focus on performing the test rather than dealing with scanning issues.
Accelerate Turnaround Times
When every container is labeled precisely, your Hologic system can handle each sample without pausing to verify or correct scanning mishaps. Over time, those small efficiency gains translate into faster test results and a more profitable operation.
Best Practices for Label Layout and Workflow
A great label design on paper doesn’t always translate to flawless performance in the lab. That’s why fine-tuning your label layout and workflow through real-world testing and staff feedback is essential for success with Hologic systems.
Start With a Layout Blueprint
Outline the exact barcode placement, text fields, and any required symbols. Aim for enough white space around barcodes so your device’s scanner can easily detect them. This blueprint should align with Hologic’s official guidelines, which are often detailed in the instrument’s user manual.
Engage Your Staff
Your lab technicians will be the ones peeling and sticking labels, so get their input. Are they frequently scanning under poor lighting or from odd angles? Gathering these insights helps you refine your layout for real-world conditions.
Pilot Your Setup
Run a small batch through each relevant Hologic device. Check for:
- Curling or bubbling of the label
- Misreads or scanning delays
- Peeling edges under typical handling or storage conditions
Collect feedback, then make any necessary tweaks to label size, adhesive type, or print resolution.
Considering a Label Partner? Here’s Why It Matters!
You can have all the right materials and specs, but success often depends on working with a supplier who genuinely understands Hologic machines. From medical label adhesives that won’t fail under chemical exposure to precisely cut label edges that never jam, a dedicated partner streamlines the entire process.
Look for Expertise in Hologic Systems
Does your supplier have documented experience configuring labels specifically for instruments like Panther Fusion® or ThinPrep® 5000? If they do, that’s a strong sign you’re in good hands.
Ask About Ongoing Support
Labs evolve—test volumes grow, instruments change, and staff turnover happens. A partner that offers reevaluations, product updates, and remote consultations can keep your labeling strategy aligned with any new demands.
Elevate Your Workflow, One Label at a Time
Electronic Imaging Materials (EIM) understands the immense pressure labs face to produce accurate results quickly. Our in-depth knowledge of Hologic machines allows us to craft tailored solutions that match your environment, test volume, and budget:If you’re ready to eliminate label misalignment, say goodbye to peeling edges, and keep your Hologic systems running at full throttle, reach out to EIM. Our experts will guide you through every step—from selecting the ideal medical label adhesives to finalizing your printer setup—so you can focus on what truly matters: delivering timely, accurate patient results with confidence.and out.Ready to see how thermal labels can transform your lab’s Hologic workflows? Reach out, and let’s start building a labeling strategy that keeps your samples secure, your barcodes legible, and your tests on track.