Choosing a label might seem like the easiest part of lab work…until it fails. On glass microscope slides, the wrong label doesn’t just peel. It blurs, curls, falls off mid-process, or makes scanning impossible. And suddenly, your workflow, compliance, and sample integrity are all at risk. That’s why smart lab label selection matters.
In this guide, we’ll walk through what makes labeling glass slides so technical, how to avoid common pitfalls, and what to look for in adhesives, materials, and formats that can actually keep up with your workflow.
Glass Slide Labeling Tips: Why Standard Labels Fail
Most adhesive labels weren’t made with glass in mind. They slip. They smear. They fall off in the fridge or disintegrate in xylene. Glass is non-porous, smooth, and often wet or exposed to extreme conditions.
Standard paper labels with general-purpose adhesives simply won’t bond correctly. They shrink in the heat. They get brittle in the cold. And if they survive chemical staining, they usually don’t survive long-term archiving.
That’s why pathology and research labs need highly engineered pathology slide labels that are compatible with every stage of the lab process, from prep and analysis to archiving and transport.
Step 1: Match Your Adhesive to Glass
Not all adhesives work reliably on glass, especially when surfaces are smooth, cold, or slightly wet. To get a secure, lasting bond, you need adhesives specifically engineered for glass slide applications. These should perform under extreme environmental conditions without failing.
Key Considerations:
- Solvent resistance: Adhesives must withstand frequent contact with xylene, ethanol, or alcohol without softening or breaking down.
- Temperature performance: The adhesive should stay tacky and bonded whether the slide is in a high-heat oven or in long-term freezer storage.
- Surface condition: The bond should hold even when applied to dry or slightly frosted glass, which can be common during labeling in cold rooms or after cryostorage.
If your current labels are slipping off, bubbling, or coming loose during staining, freezing, or heating, it’s a strong sign your adhesive chemistry isn’t up to lab standards. The right adhesive holds firm through every step of your workflow.
Step 2: Choose Durable, Lab-Grade Facestock
Facestock is the printable surface of your label, and it plays a critical role in maintaining clarity and resilience. The entire label can fail if the facestock isn’t engineered to handle your lab’s chemicals, heat, or cold cycles. This leads to blurred barcodes, unreadable text, or physical distortion.
Ideal Materials for Lab Slides
- Polyester: A reliable, all-purpose material that resists both heat and solvent exposure. Commonly used in labs for its strong balance between durability and cost-effectiveness.
- Flexible synthetics: Especially useful in applications involving freezing or repeated thawing. These materials flex with the slide surface, minimizing the risk of cracks, wrinkles, or curl-back.
Each material option supports high-resolution printing, resists smudging, and withstands lab environments ranging from chemical baths to dry ice storage. Choosing the right facestock ensures your labels stay legible and firmly in place through every process stage.
Step 3: Select the Right Print Method
Print durability is just as important as adhesive strength. While some smearing can occur immediately after chemical exposure, the right print method and materials can significantly reduce this risk. Using the most chemically resistant inks and ensuring proper handling, like allowing the label to fully dry before touching, helps preserve readability and data integrity throughout the process.
Best Practice: Thermal Transfer Printing
- Use xylene-resistant resin ribbon. This ensures that your printed barcodes and text stay intact even when exposed to harsh chemicals like xylene, alcohol, or ethanol.
- Opt for high resolution. Clear, sharp barcodes and text are easier to scan and reduce the risk of read errors or misidentification.
- Prioritize smudge resistance. Slides are handled frequently, often in gloves or near staining equipment. A smudge-resistant print keeps your data intact with proper handling despite these challenges.
If you’re printing labels in-house, you must ensure your printer and ribbon are fully compatible with the label material you’ve chosen. If you want added protection, consider pre-printed labels or self-laminating options. These formats increase durability and reduce the risk of smudging, fading, and rework over time.
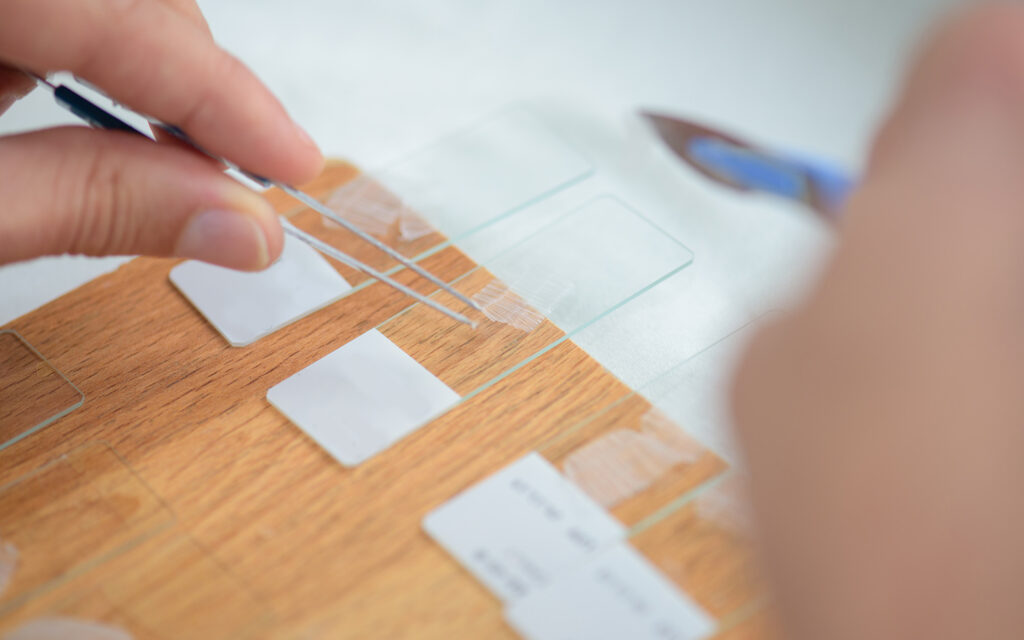
Step 4: Don’t Overlook Label Size and Placement
Label dimensions and alignment aren’t minor details. They’re make-or-break variables in slide identification and handling. Oversized labels can cover essential data or fail to adhere properly, while undersized ones limit barcode length and print clarity. Incorrect placement can disrupt automated equipment or even jam systems, creating frustrating delays.
Tips for Success:
- Use label sizes specifically designed for microscope slides, such as 25x10mm, to ensure compatibility
- Maintain consistent label placement to support smooth operation through automation or scanning workflows
- Provide sufficient margin space around barcodes to ensure reliable scanning in different lighting or angles
Before ordering, communicate your slide dimensions, equipment type, and labeling goals to your supplier. This allows for a tailored solution that integrates with your exact process and minimizes the risk of relabeling or machine downtime.
Step 5: Match Labels to Environmental Conditions
Glass slides go through a wide range of environmental conditions, and your label must withstand them without compromise. Whether you’re flash-freezing samples, running them through autoclaves, or submerging them in harsh solvents, the right label build ensures your data stays intact and readable.
Common Conditions to Plan For:
- High heat: Slides processed through ovens, dryers, or autoclaves demand labels with heat-stable adhesives and materials. Labels can shrink, lift, or burn without proper resistance, rendering barcodes useless.
- Freezing temperatures: Cryostorage and dry ice transport require cryo-safe adhesives that remain flexible and bonded even at ultra-low temperatures. Labels should not crack, fall off, or become brittle under extreme cold.
- Chemical exposure: Stains, cleaning agents, and immersion baths, especially those involving xylene or ethanol, are notorious for breaking down standard adhesives and facestocks. Labels used here must offer high solvent resistance to maintain legibility and adhesion.
Electronic Imaging Materials (EIM)’s CryoLabel® Frost is a reliable solution for labs labeling samples that are already frozen. It applies cleanly to frosted, frozen surfaces without the need to thaw first, saving time and preserving specimen integrity.
Choosing label materials that match your lab’s environment is essential to avoid relabeling, unreadable barcodes, or lost samples. This step alone can determine whether your workflow moves smoothly or suffers delays from avoidable failures.
EIM solves label failures. Whether you’re working with frozen samples, xylene stains, or high-speed automation, we can help. Request a sample kit or talk with an expert to get custom label recommendations built around your workflow.
Step 6: Consider Self-Laminating or Pre-Printed Formats
If your workflow includes harsh chemicals, high-temperature equipment, or frequent handling, your labels may need more than just strong adhesive. In these cases, adding a layer of protection can make the difference between flawless traceability and frustrating rework.
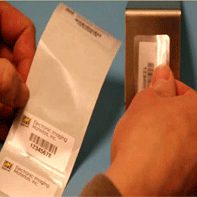
- Self-laminating labels: These are printed in-house and come with a clear, protective laminate you apply after printing. They shield barcodes and text from smudging, solvent exposure, and daily handling.
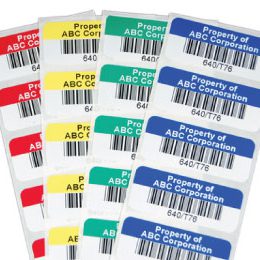
- Pre-printed labels: These are produced by a label expert, ensuring consistent barcode quality, correct sizing, and high durability. Lamination is an optional add-on that provides extra protection from chemical and thermal damage.
Both options are excellent for labs working with rigorous staining protocols or high-throughput environments. They help reduce relabeling, improve read rates, and maintain long-term data accuracy.
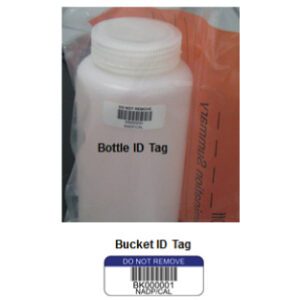
Step 7: Labeling Slide Containers and Accessories
The lab label selection process doesn’t end with the slide itself. Supporting items like slide mailers, cassettes, storage trays, and even organization containers play a vital role in specimen tracking and storage. If their labels peel, blur, or fall off, you lose more than convenience. You risk confusion, misplacement, or delays in analysis.
Just like slide labels, container labels need to be tailored to their materials and use cases. Many of these accessories are made of plastic or coated surfaces, which require a different adhesive profile than glass. Additionally, these containers often move between environments, from bench to fridge to freezer, so your labels need to stay legible and secure through every transition.
Labeling Recommendations:
- Plastic-compatible adhesives: Ensure strong, lasting adhesion on polypropylene or polyethylene surfaces commonly found in slide holders and cassettes.
- Moisture-resistant facestocks: These help preserve label integrity when trays are wiped down or stored in humid or cold environments.
- Compact, custom-fit label sizes: Labels should be tailored to fit the physical contours and limited surfaces of trays, drawers, or boxes, without interfering with stacking or handling.
An effective labeling strategy considers not just the slide, but everything that carries it. That’s what separates a good system from a great one.
Get the Right Fit With EIM
Labeling microscope slides is more than just choosing a sticker. It’s about precision, durability, and consistency across every stage of your lab’s workflow.
EIM helps labs select, size, and test the right lab label selection for glass slide applications. Whether you need cryo durability, chemical resistance, or automation alignment, we’ll build a label that fits. Every time.
Ready to upgrade your labels? Contact EIM for expert lab label selection guidance, custom sizing, and performance-tested materials that stick through anything.